Necklace Match Review: Beads Strung on Odd-Shaped Wires
Necklace Match review: colored beads come off U-shaped, hooked and looped wires one at a time and land in a seven-slot tray to clear in threes.
Game at a glance
Necklace Match
7/ 10
Our score
3D tile matching still has plenty of new forms left to dig into.
In this article6 sections
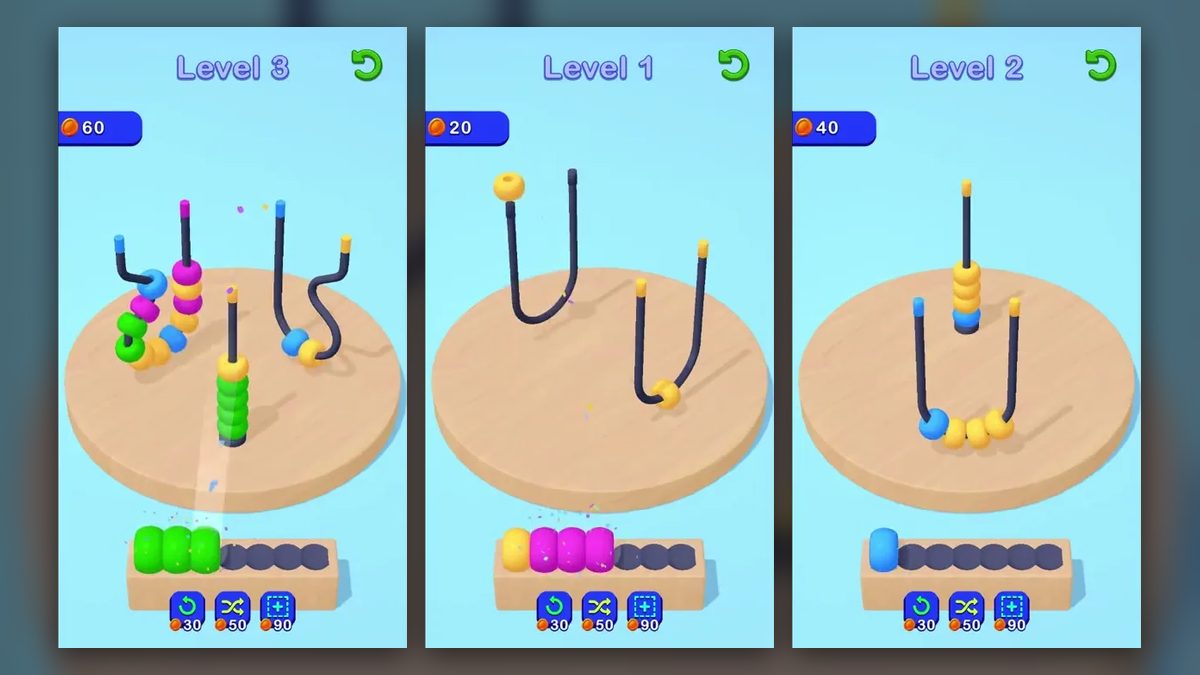
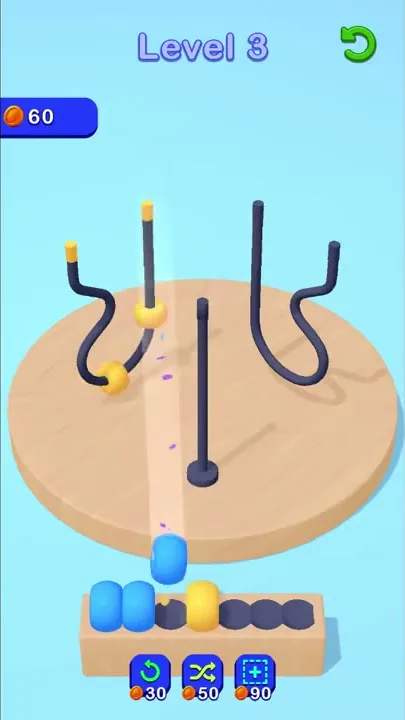
Late in Level 3 of Necklace Match, the center post and the right-hand wire stand empty, and only yellow beads are left on the left wire. In the tray below, a blue bead drops toward a gap that has opened beside two blue ones, with a yellow bead one slot to the right.
This mobile puzzle game runs on tile matching with a small tray, the same base as other tile match games, but the pieces above that tray are colored beads strung on wires bent into U-shapes, S-curves and loops, plus straight posts. We played the tutorial and Levels 1 to 4, stopping partway through Level 4.
Those odd racks are where the game does something new. Past them, there is not much depth, and the game is made fairly simply.
From bead rack to seven-slot tray
Necklace Match gameplay comes down to one goal: every bead has to come off the board. The beads are glossy, toy-like rings with a hole through the middle, threaded on dark navy wires fixed to a round, light-wood board. A fixed camera looks down on the board at an angle against a pale blue background. Beads drop onto the wires from above as a level begins, and once the last bead of Level 2 was gone, the win screen came up.
The player takes the beads off upward, one at a time. A leaving bead shows up partway along an arm or just above its tip, then travels to the tray while a pale streak runs down from the board. Each wire end carries a colored tip while its wire still holds beads, and those colors change during play. The level label is centered at the top of the screen, with a green circular-arrow button in the right-hand corner.
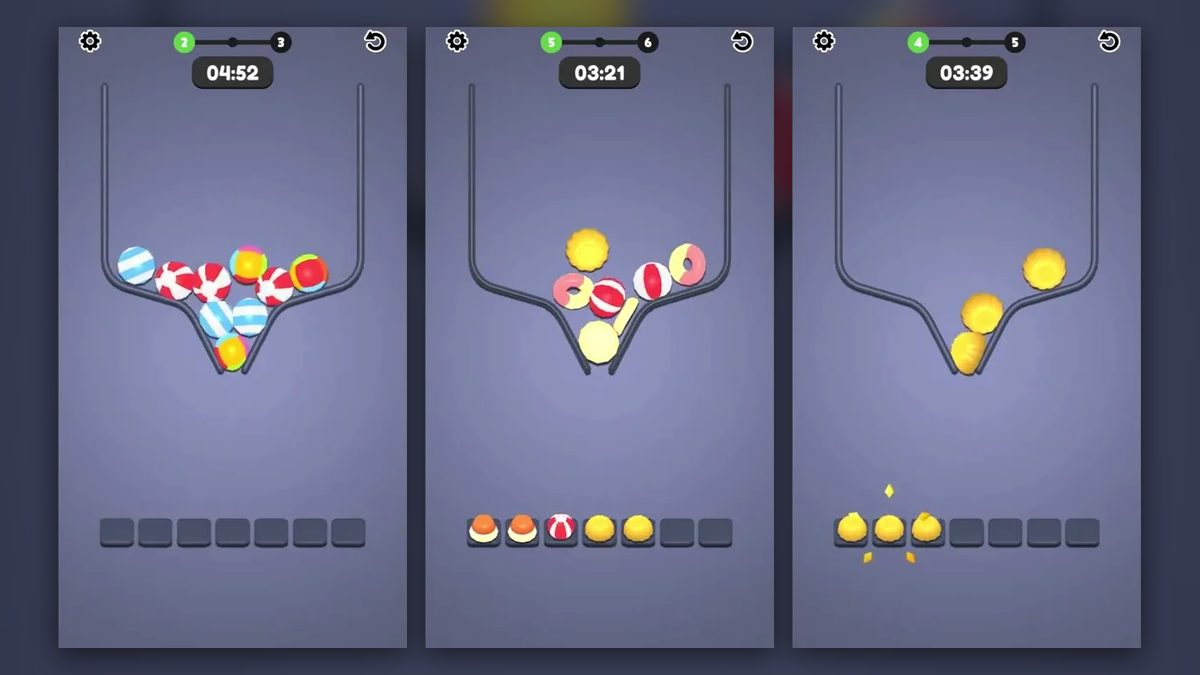
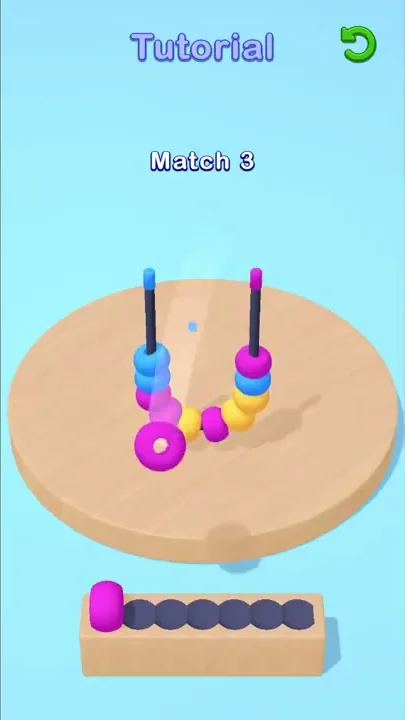
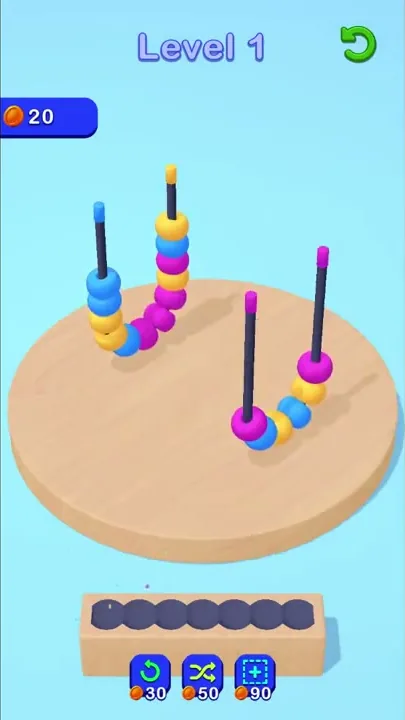
The tray is a wooden block with seven evenly spaced round sockets, and beads stand in it side-on like upright capsules. Partway through Level 1 it holds two blue beads side by side, then a pink. When three of a color are in the tray, they vanish in a burst of particles, the rule the tutorial sums up in two words: “Match 3”. No move counter, timer or goal counter shows up on these boards, and we can’t say what happens when all seven slots fill.
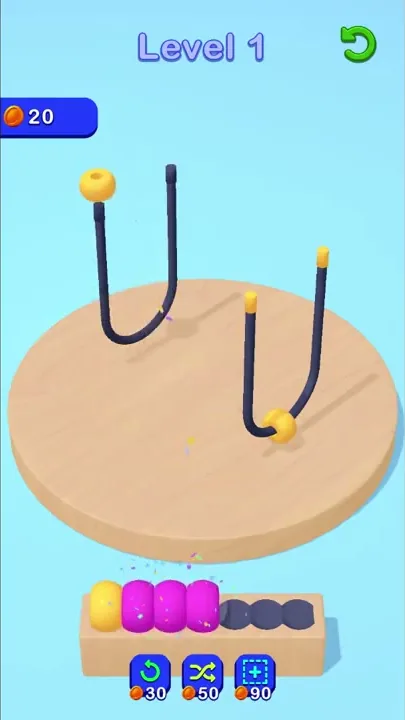
The U-shaped wire is the first rack: the tutorial has one and Level 1 has two. Both arms stand up, and the beads strung along it gather at the bottom of the U, rising along an arm as they leave. Near the end of Level 1, the left wire is empty apart from one yellow bead lifting off the tip of its arm, and the right wire holds a single yellow bead at its bottom.
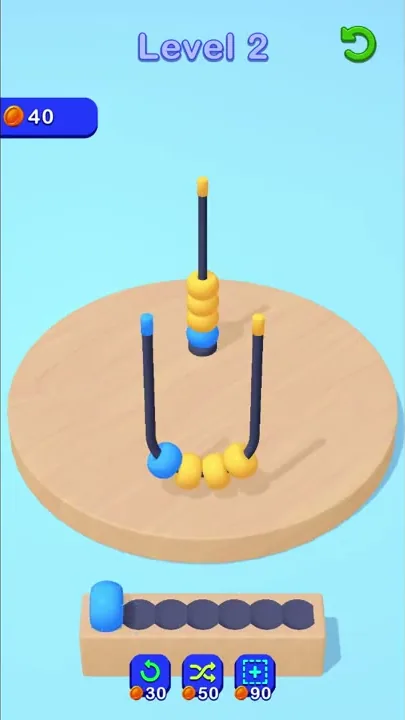
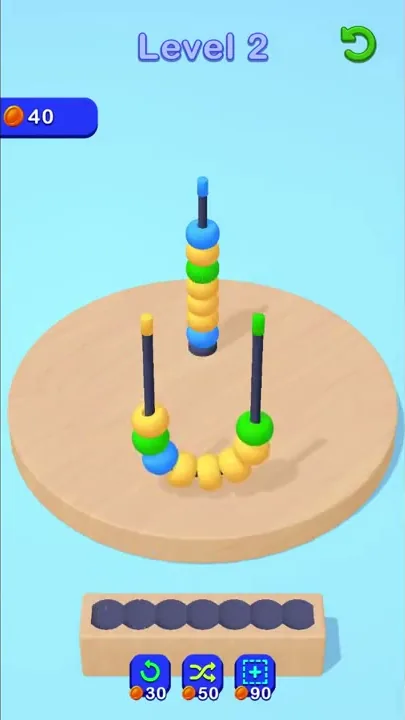
The straight post arrives in Level 2: a single upright rod on a round dark base, its only free end at the top, with beads stacked on it like rings. Late in that level, the stack is yellow beads over one blue bead, standing behind the U-shaped wire.
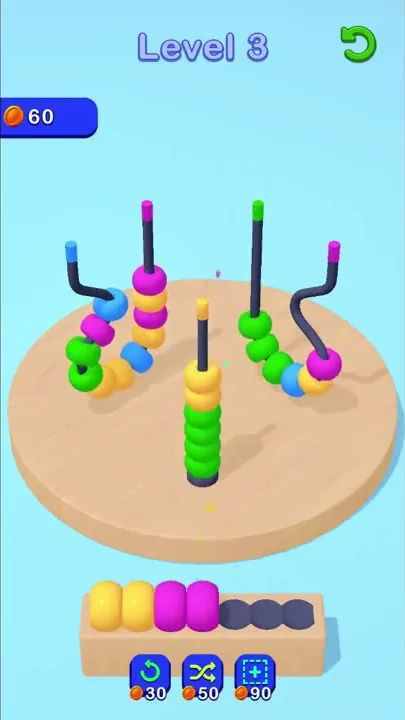
Level 3 has two wires with mismatched arms. One arm stands straight, while the other bends into an S-curve and hooks over at the top, and beads crowd around the curves at the bottom. Early in the level, a yellow bead rises just above the tip of a hooked arm as it leaves.
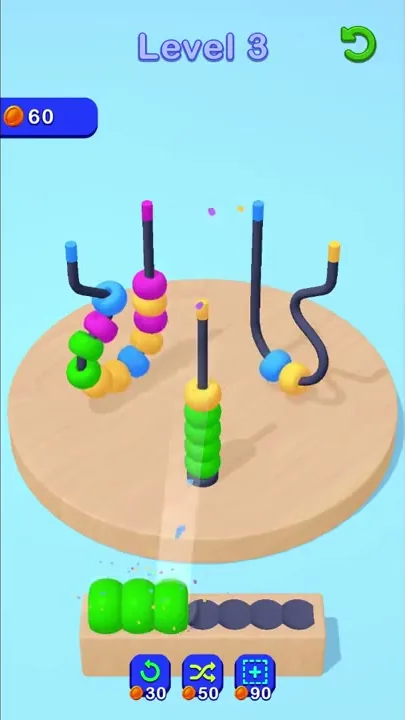
Four bead colors share the Level 3 board, spread over a center post and the two hooked wires. Partway through, the tray holds two yellow beads and two pink ones, leaving three of its seven slots open. Later the center post is down to one green bead at its base, while three green beads stand in the tray next to a blue one.
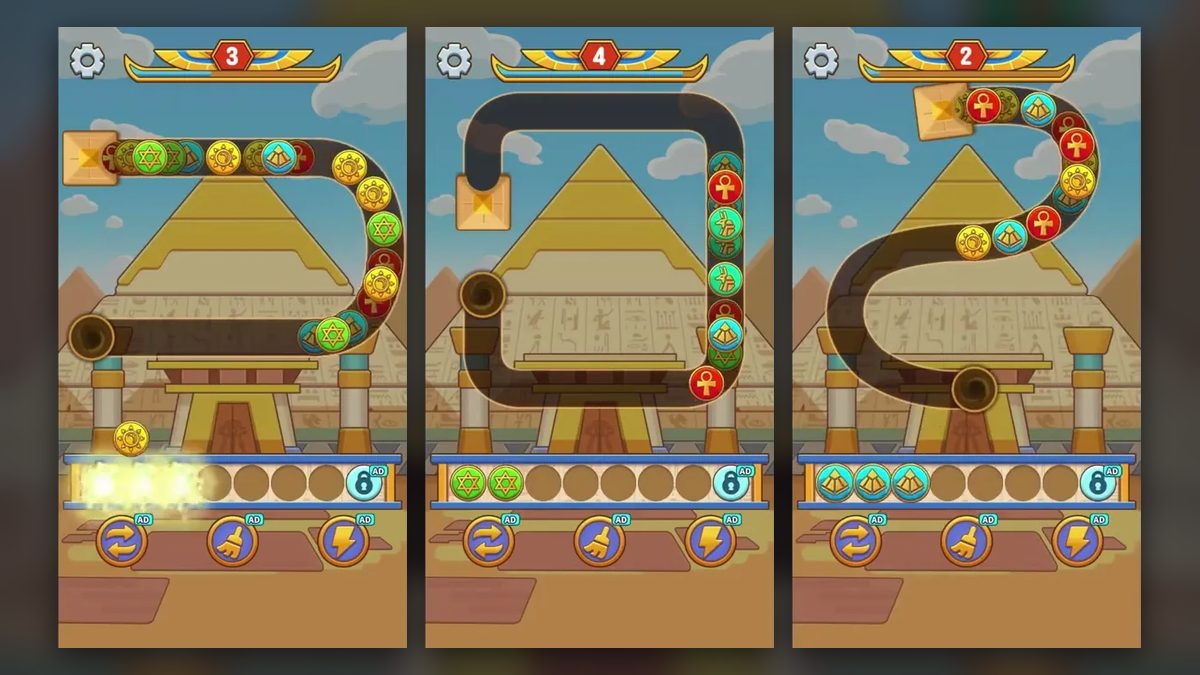
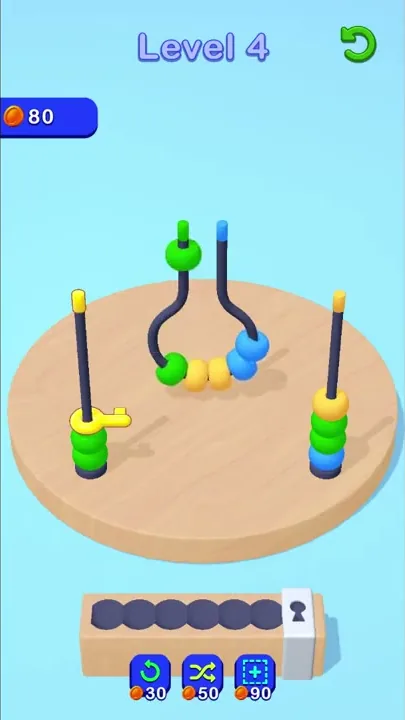
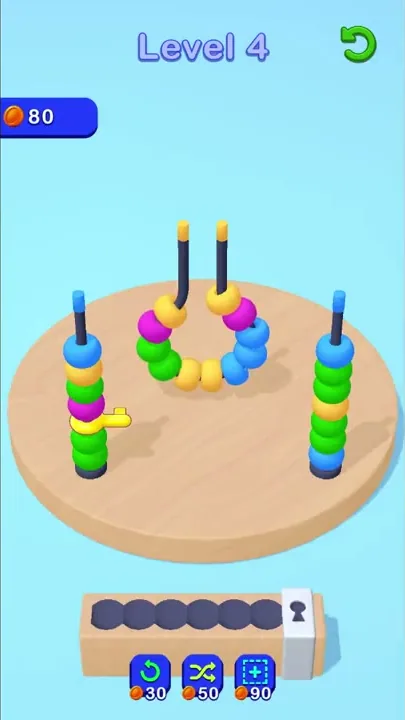
The loop wire stands in the middle of Level 4. Its two ends rise side by side from a rounded loop near the board, and beads fill the loop. Partway through the level, a green bead rests near the top of one end; a few moments later the loop is down to two blue beads at its very bottom.
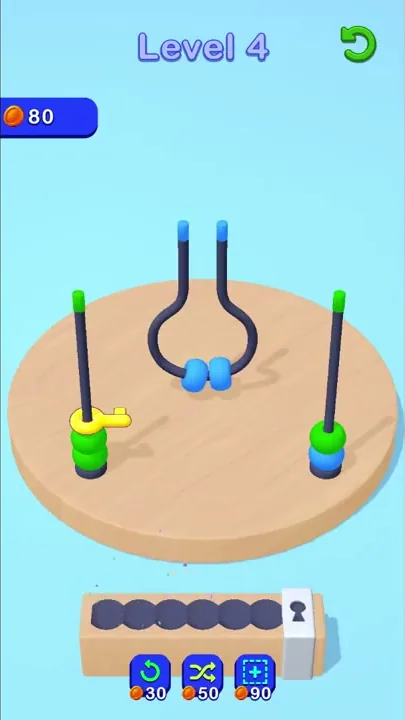
Level 4 also has a key. A yellow key is threaded among the beads on the left post, and a white block with a keyhole covers the seventh tray slot, leaving six open. As the beads above it come off, the key reaches the top of the stack. Shortly after, the key and the keyhole block are both gone, and the tray shows all seven slots open.
Growing racks and a locked tray slot
The tutorial starts small, with a single U-shaped wire under the label “Match 3” and beads in three colors.
Two U-shaped wires follow in Level 1, one toward the back left and one toward the front right, and the coin count and booster buttons show up with them. The bead colors are the tutorial’s three again.
Posts and bent arms come next. A straight post on a round base stands at the back of the Level 2 board, with one arm of the U-shaped wire on each side of it, and green takes pink’s place among the three colors.
A fourth color arrives along with the hooked wires. In Level 3, pink, yellow, green and blue beads cover a center post and two S-curve wires, the post standing in front between them.
The tray itself changes in Level 4. It starts with six open slots and the seventh under the keyhole block, while straight posts stand at both sides of the board with the loop wire between them.
Outside the boards, a coin count in the upper-left corner goes up by 20 from each level to the next. Three blue booster buttons line up under the tray, each marked with a coin price: a green circular arrow for 30, crossed arrows for 50 and a plus sign in a dashed square for 90. We can’t say what any of them does.
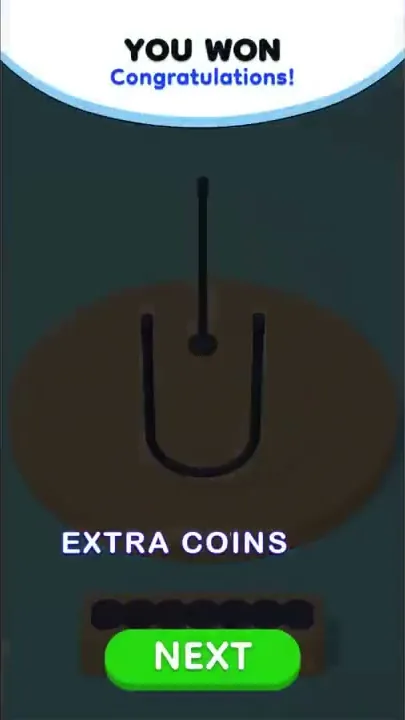
The win screen after Level 2 dims the empty board under a “YOU WON” and “Congratulations!” header, and the words “EXTRA COINS” appear above a green “NEXT” button.
Racks bent into odd shapes
The rack shapes are its calling card. They rework the way tile matching keeps some pieces covered by others, and we count that as a fresh idea. A straight post has one free end at its top, while the bent wires gather their beads low in the curves; those low beads were the last ones left, like the single yellow bead at the bottom of a Level 1 wire and the two blue ones at the bottom of the Level 4 loop.
Under the racks sits an ordinary tile-match tray, so the new part is in how the pieces are held. More broadly, the forms 3D tile matching can take still have a lot of room to explore.
Not much depth past the wire shapes
Depth is where Necklace Match comes up short. The game is also made fairly simply.
Unthreading beads and matching them in threes
The play is about shapes: following a strand of beads around the bottom of a U or up a hooked S-curve, then lifting them off one at a time to gather three of a color in the tray. A player who enjoys that kind of tracing will find it at the center of Necklace Match.
Verdict
Strung beads on bent wire give Necklace Match a new way to cover and uncover pieces above an ordinary tile-match tray. Beyond those rack shapes, though, there is little depth, and it is made fairly simply.